2.1 Extract the XVA File to Raw Disk
Objective: Extract the disk from the from the XVA to a raw disk to be converted to VMDK.
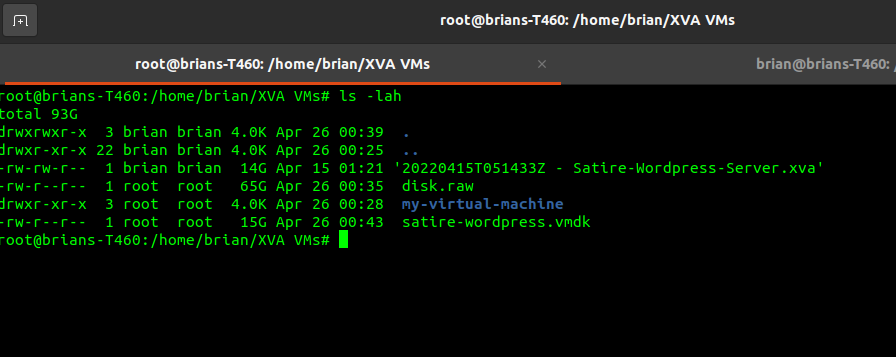
Step 1. Navigate to a location that you would like to work from. In my scenario, I am working from my user's home directory in a folder name 'XVA VMs'
Belows is a screenshot of my working directory
Step 2. Once inside the working directory, run the following commands as root
-
mkdir my-virtual-machine -
tar -xf my-virtual-machine.xva -C my-virtual-machine -
chmod -R 755 my-virtual-machine
Step 3. Next we are going to export the Disk by utilizing disk-export command
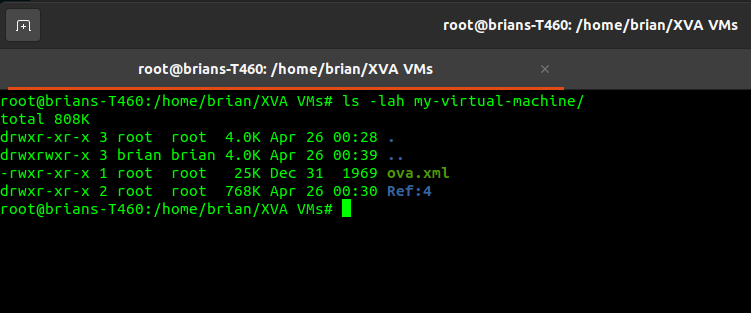
xva-img -p disk-export my-virtual-machine/Ref\:4/ disk.raw
The Ref: number may vary. The way to get the correct number is to run the ls command against the "my-virtual-machine directory where the ova.xml and disk files are located. Reference the below screenshot.
Extraction Process Complete
It will take a little bit of time to extract, but the -p command when exporting will show you the current progress. Once it completes, you will have a 'disk.raw' file unless you decide to name it 'somethingelse.raw'
This completes the extraction of the disk from the XVA file. You can now examine the disk raw or convert it to any other format such as qcow2 or vmdk.